Steeks on the Cusp

Happy New Year, everyone! In today’s breaking news, the Cusp is done!!

P1090935

I seriously think this is the most striking thing I’ve ever knitted. Almost everything else I’ve made fits into a sweater template — a regular shape with a variety of necklines and sleeves, in different textures and fabrics. Not that there’s anything wrong with that! But I didn’t feel like knitting more of the same and yeah Cusp was different!!

I’d been looking to make a poncho for a while now, but was a bit bored by all the existing patterns I could find. Cusp with its circular construction and intriguing sleeves was the answer.

However, all the modeled photos showed some odd bubbling at the biceps, as if they were too rounded. I solved that by making vertical arm slits along the side seams (instead of horizontal ones on the front piece, as in the pattern).P1090941

I also steeked in a V-neck since the crew neck in the original looked really incongruous.

P1090912

I’ve got some more detailed thoughts on modifications on its Ravelry project page, but will leave you with a couple of shots of the quality inspector…

P1090919

… and the back!

P1090945

Details
Pattern: Cusp
Yarn: Classic Elite Portland Tweed, 10 skeins, “Golden Green”
Ravelled here.

Ondawa!

Done!

full 1

I’ve talked quite a lot about this one before, so I’ll just summarize here.

I decided to reduce the gigantic amount of ease to about 6” (the 1×1 ribbing makes it seem smaller). I also increased the length of the body, but perhaps it is now a bit too long. Anyway, the very thought of snipping a row and grafting the bottom up to make it shorter sent my brain screaming, so it’ll stay long.

I’m really happy I scooped the neck in front with short-rows. I hate boat necks and the modified depth is perfect. Also, I am really glad of my decision to knit most of the body and sleeves in the round. Imagine all those twisted ribs worked from the WS! Shudder! I love the refined edges: I finished with a invisible BO and started with a version of the long-tailed CO which creates knits and purls right from the beginning to avoid a hard edge.

Overall, I like the garment! The colour is really standout (more than the photos indicate), a sort of poisonous, emerald green. It’s not a colour I would normally wear, but I like the drama of it. I promised to pose this with obscenely large accessories, so here’s a necklace which fits that definition in my mind, a jangly-dangly thing of metal, glass and faux pearls. And because one must nod to The Fashunz, I’ll incorporate semi-tucked and hi-lo trendz into one picture and get it over with, thanks.

full tucked

Details
Pattern: Ondawa
Yarn: Madelinetosh DK; 100% wool; 206m = 100g; dk weight; 5.33 skeins; “Laurel”
Needles: 3.5mm metal circulars for everything.

Ravelled here. And final arty farty photo:

full blur

Why I Love Steeks

See those tbl columns? Imagine the annoyance of working them from the WS? I don’t have to! I knit both Ondawa sleeves simultaneously, with steeks in between. Then sealed the steek edges with machine stitching lines…

imageCut!

image

Voila! Two Ondawa sleeves!

image

And that’s not all…

image

WIPping Things into Shape

So much progress on both the Sewaholic Robson Trench and the Ondawa Pullover! Both are pretty intense, frankly, and I used one as a break from the other.

As planned, I bound off three stitches at the underarm of the Ondawa, cast on six stitches over the gap in the next row for the steek, and continued with the yoke. However, by that time I had already started doing short rows to shape the neck, so the steek was quite redundant. After a few rows I abandoned the steek and started working back and forth. I couldn’t work in the round while short rowing anyway, and doing the front and backs separately at least divided the WS rows into shorter stretches.

P1090348

Meanwhile, the Robson Trench reached …

Stage III: Sewing
Finally!

To remind you where we are, here’s the fabric cutting diagram.

003 pieces

The large pieces with seam binding and underlining look like these, from left to right:

three seams

a) Simple, with both edges bound and horizontal edges stay stitched
b) Mixed, with one edge bound and the other stay stitched.
c) Complex, with at least one edge is partially bound and the other partially stay stitched.

In all the above, the bound edge is always finished first, and then the remaining edges (horizontal or vertical) are stay stitched.

With that out of the way, I could finally transfer notches. Not, obviously, by notching my beautifully bound edges, but with thread (yes, I’m adding that to the list of how I over-complicated this project).

The seaming for the project goes fastest if you do all similar pieces together. It also sidesteps thread changing frenzy. I did all the bits and bobs first, top stitching and all. Then the large seams: pockets and welts to corresponding pieces, back to back and sleeve top to sleeve bottom. After seaming together, the seams are pressed open and top stitched twice from the right side (except pockets, see below). If any internal curved seam allowance was unbound…

P1090350

… I trimmed it, bound it with bias tape, and only then top stitched it.

P1090351

Because my seam allowances are opened up, I did the pocket in a slightly different sequence:

a) Stitch Pockets to corresponding Front and Side pieces, leaving 5/8 inch only unsewn at top and bottom edges. Press each seam allowances towards its corresponding Pocket (very important step!).
b) Move both Pockets and their seam allowances towards the Front, and top stitch the entire Side piece, catching only its own seam allowance.
c) Spread apart Pockets and their seam allowances, and top stitch just the Front piece, only between the notches (ie, only along the Welt).
d) Hold Pockets together and stitch around the edges. This will be possible since the previous steps have left the top and bottom of the Pockets unsewn and uncaught by top stitching. While stitching this curved line, keep the Pocket seam allowances pressed towards the Pockets, sewing through several layers of fabric at the beginning and end of this seam.
e) Finish the curved seam just sewn with bias binding.
f) Complete top stitching on Front princess seam, through all layers, from underarm to top of Welt, then, separately, bottom of Welt to hem.
g) Finish Welts and Pockets as in the pattern.

P1090353

I did almost everything according to pattern, except the shoulder seams which were joined wrong sides together, to keep the inside of the garment clean.

Whew, ok, some more sewing and finishing next. But first I have to devote some time to my Ondawa.

Some Steekery

1. Hood and steek, just before the top of the hood was knitted.

hood + steek

2. First line of crochet binding. Finally I’m using ‘sticky’ enough yarn to do a crocheted steek! Previously I’ve had to sew — by hand or machine — to secure edges.

31 single steek

3. Second crochet line. Find all you want to know about steeks here, here and here.

33 double steek whole

4. See how they open up like a valley?

32 double steek

5. Cut!

34 cut

6. Wash the sweater and block out cables to desired plumpness.

39 hood blocked

7. Pick up and knit rib

35 rib pick up

8. I made tulips buttonholes – so invisible!

352 buttonhole

9. Steam steeks flat inside the sweater.

36 steek folded

10. Sew them down neatly.

362 steek whip

11. Because I didn’t add a BO row for stability when starting the hood, I’m crocheting a chain across the shoulders and hood. This is the WS…

37 sew reinforcement

12. …And this is the RS. It blends in very nicely in real life.

38 sewn RS

13. Sew buttons with felt backing for durability. 

367 buttons

All done, FO pics soon!

Elves in Space

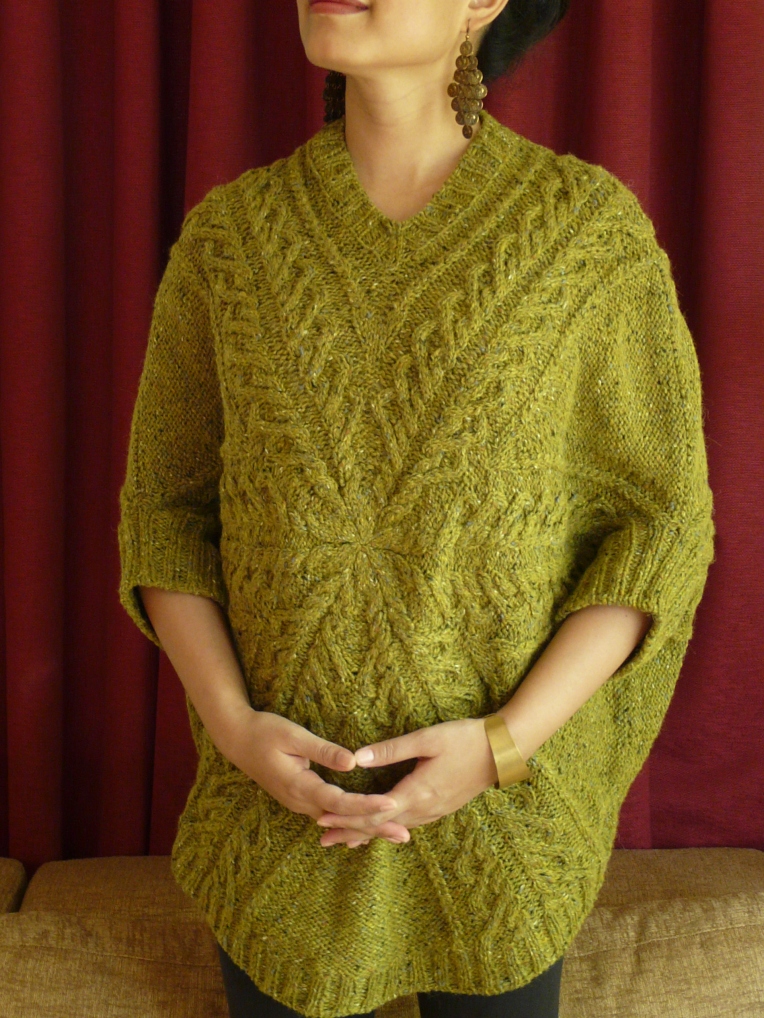
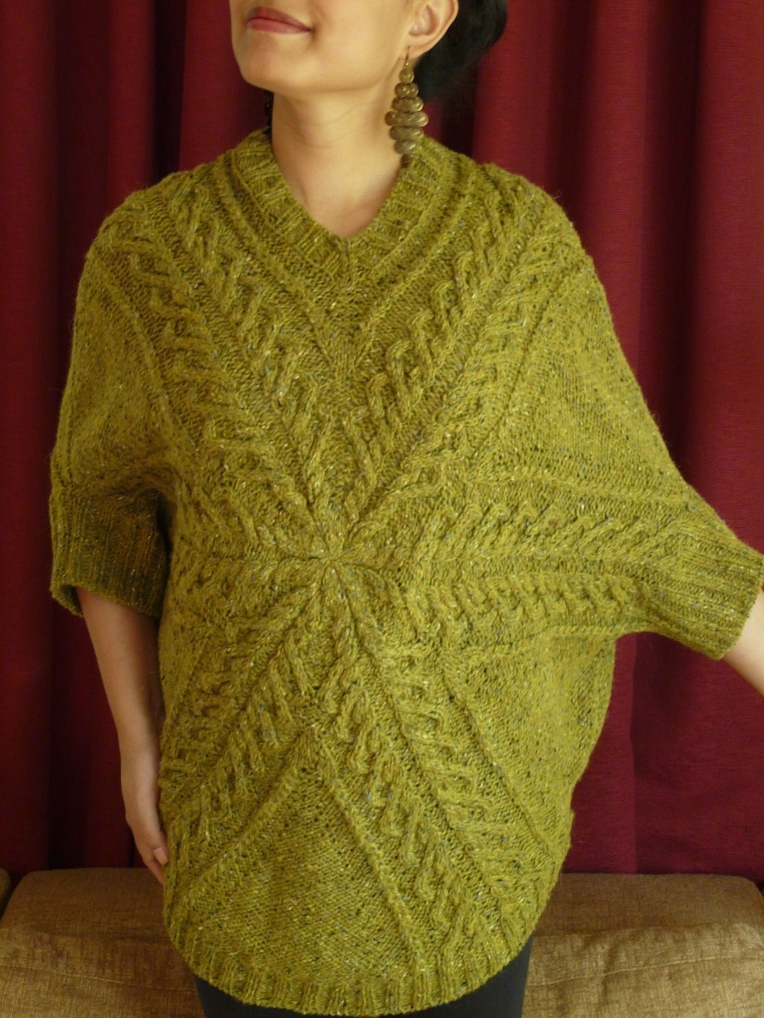
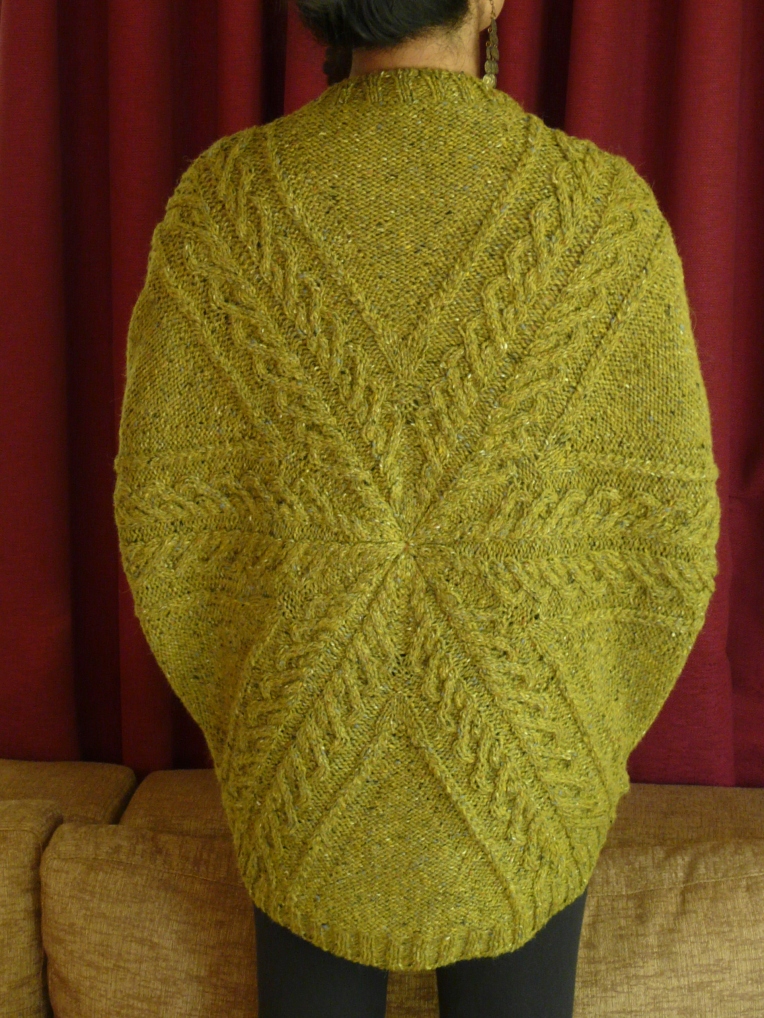
The Beatnik hood is knitted, but will it fit? This is the maddening and alluring thing about steeks, you never know if the garment be perfect or horrid until after cutting, at which point the yarn is unsalvageable. But let us be brave and trust in Gauge and Calculations.

Knitted hoods usually come in two flavours . They are either:

a)   Round and clingy, following the curve of the lower skull, fitting tightly around the head and framing the face. This makes the wearer look oddly hairless, as if they were preparing to be strapped into a space suit. Of course, a sweater designed to seal in body heat must stay close to the face, but there’s no need to cling so tightly that a phrenologist may be able to work through it.

b)  Drapey and pointy, in the style made trendy by the high elves out of Lothlorien. Excess fabric drapes gracefully down and pools around the shoulders. The crown is sometimes sharply pointed, but with so much fabric that even the point arcs downwards. Very costumey and — more to the point — so much more knitting to do!

I find both ends of the hood spectrum equally undesirable and wanted a happy medium. A rounded crown and moderate roominess; some heat-sealing around the face but not a vacuum sealed appearance. I think I mostly succeeded, although there are a couple of puffy bits at the back of the head, showing I should have done the crown shaping sooner.

Here’s how to calculate one for yourself:

Measure horizontally around the widest part of your skull = A.
Measure how wide you want the face opening to be = B.
How wide is your edging going to be? C. (I’m going to add about 3/4″ in ribbing)
How wide is the existing front panel? D. (front panel = sts carrying on upward from the fronts of the cardigan + shoulders)
Half length of the hood, from shoulder to the middle of the top of the head (where a middle parting would be) = T
Half horizontal width of the top of the hood, measured in a straight line from above one ear to the middle parting = H
Half hood vertical height = T-H +1inch (for ease) = V

1. With the above information, calculate the back of the hood, at the widest point should be E = A – (B + 2C + 2D)

2. Knit the garment up to the point where you want the hood to attach. Decide how you’re going to add the very necessary reinforcement to the base of the hood. Some patterns have you bind off back neck sts and then pick them up on the next row. I’m going to add sewn reinforcing, so I’ll just keep knitting.

3. Look at the sts you have at the back of your sweater. If you are planning to attach the hood at the middle of the shoulder, then you may already have E width of stitches at the back. But if you’ve knitted your sweater up to crew neck level, your back neck stitches are going to be less than E.

4. If you don’t have E width, calculate, using your gauge, how many stitches you need to add to the back to bring it to E width . If you have E width, you just work straight up, so skip to step 6.

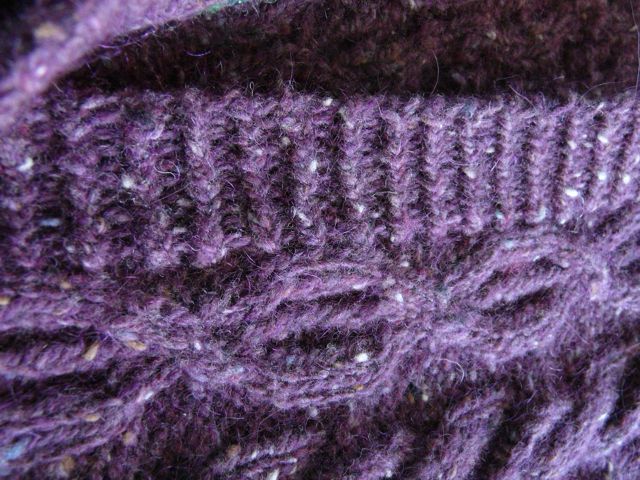
5. If you do have to add some sts to the back neck (ie, your back neck sts were less than E), add them at a very quick rate, even as much as 6 sts per row, if your pattern allows. I added them by increasing the reverse stockinette section between the back cable and shoulder saddle. If you don’t add them quickly, the hood will cling to the curve of the lower skull, which is a look I don’t like. See how the reverse stockinette increases dramatically in the few rows above the shoulder?

21 hood inc

6. Once all sts are added, calculate how much length you need to reach V-1″ and work these rows straight. It should now look like this:

22 Back of hood

7. In the next one inch, decrease away extra sts added, in the same sections you added them in step 5. If you didn’t add any sts because you were starting with a broad circumference at the bottom, you still have to decrease until you’re left with front panel (D)+actual back neck width+front panel (D) sts.  At the end of this step, your hood will be V inches high with only D + actual back neck width + D stitches left.

8. Starting from the face opening edge, work across one front panel, working the last stitch of the panel together with nearest stitch from the back. Turn, slip the first stitch and work back to the face opening edge. Continue till half the back sts have been consumed. Then break the yarn and repeat the process with the other front panel and the remaining back sts.

9. When all back sts have been consumed, graft the two front panels together at the top of the head or join with a 3 needle BO. The top of the hood now looks like this:

23 top of hood

The stockinette panels from the saddle shoulders and the remainder of the front cable have met at the top of the head.

10. Wash, block, add finishing to the edge and admire your hood!

24 final hood back

(Confession: because mine was steeked, my last step was different. More pics soon!